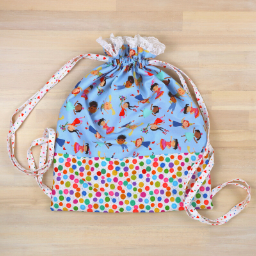
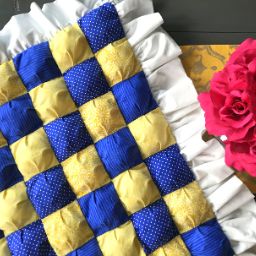
This free rag quilt pattern will make a baby rag quilt look precious. This rosette pattern is simple but gives a blanket such a soft, pretty look. Perfect for a baby rag quilt.
Rag Quilt Rosettes Tutorial:
Follow the steps below and you will have created a beautiful Rosette that can be added to a Block Rag Quilt. These Rosettes can be added to the corners of your rag quilt or could be placed in a checkered pattern if your really ambitious.
This free rag quilt pattern is based on a blanket being made with 6″ square blocks. You can adjust it to work with any size block you are choosing to work with.
FOR A FULL RAG QUILT TUTORIAL click here.
Free Rag Quilt Pattern Step 1:
Cut All Rosette Squares.

Cut two squares of each size below. You will end up with a total of 10 squares.
- 6″ by 6″
- 5″ by 5″
- 4″ by 4″
- 3″ by 3″
- 2″ by 2″
The sizes can be adjusted to fit any size rag quilt. Just don’t exceed 5 layers as it will become too hard to sew through.
Step 2:
Prepare the Largest Square.

All pieces will lay wrong sides together (like any rag quilt).
Take the largest square (6″ by 6″), add batting in between and sew and X from corner to corner. This keeps the batting in place.
If the rest of your rag quilt squares don’t have batting then skip this step.
Step 3:
Prepare the Smallest Square.
Take the smallest square and sew an X from corner to corner. This will give the rosette a finished look once you put it together.
Step 4:
Attach Each Square.

Take the second largest square pieces (5″ by 5″), center them on the 6″ by 6″ and sew them together leaving a half inch around the outer edge of each square.
Remember to back stitch while attaching your squares so they do not come loose later on.
Do this with each size until they are all stacked on top of each other and attached.

You will be able to see the seam of all attached squares on the back side of the largest square.
Step 5:
Prepare the smaller squares by pre snipping them.
Begin snipping around the edge of each square except for the largest (6″ by 6″) square. I snip leaving around 1 cm of space between each snip. This will help create a nice ragged look in the end.
Step 6:
Attach Rosettes to larger rag quilt.
Attach the Rosette wherever you wish within the rag quilt you are making. If you make enough it could be a part of a checkered pattern. Or if you find this to be a lot of work just add it to the four corners of your rag quilt.
Step 7:
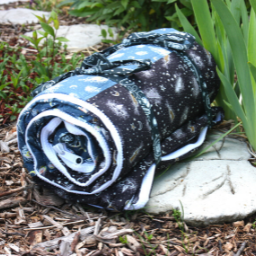
Finished look appears after the washer and dryer.

Once the rosettes are attached to the rest of your rag quilt, then finish sewing your rag quilt the way you would any rag quilt. The rosette will come out of the washer and dryer looking frayed, beautiful and soft. A perfect addition to any baby rag quilt.

So what do you think?
Will this free rag quilt pattern make it into your next rag quilt project? Do you have any other rag quilt ideas that would add extra detail to a rag quilt?
I would love to hear your input and ideas, please leave me a comment below so I can try out more fun ways to make rag quilts.
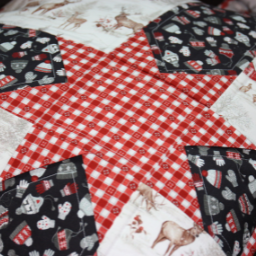
Click HERE for a pattern that helps you add STARS & LION HEADS heads onto rag quilts.
For a full tutorial on HOW TO MAKE A RAG QUILT CLICK HERE.