I am always looking for new ways to make a rag quilt. This rag quilt idea I have been wanting to try for quite some time and I finally did it!
For the FREE pdf template CLICK HERE to download.
Originally I made it for a baby blanket. But now that I made it I think it would also look beautiful on a twin bed made with larger squares.
If you want to try that then I suggest watching my you tube tutorial as I share with you how to make your own templates for any size squares you choose to use for your own scalloped edges rag quilt.
This post contains affiliate links at no cost to you. I appreciate the support!
Rag Quilt Idea:
Scalloped Edges, Step 1
If you want to use the free pdf download please cut all your rag quilt squares 6 inches by 6 inches.
All rag quilt pieces will be cut as blocks first before trimming into scallops using the templates.

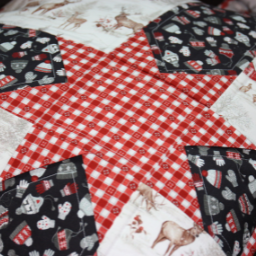
The blanket in the photo is 6 blocks by 6 blocks and has a third layer of flannel in between the front and back layers to give it extra weight without having to add any batting.
Step 2

Lay out your pattern so you know which blocks need to be cut using the templates. AT THIS STAGE ALL PIECES ARE STILL BLOCKS, unlike the above photo. I forgot to take a photo in the early stage.
Step 3

Print out the templates, trace them onto thicker cardboard and cut out two of each template.
I used cereal box cardboard as it has the perfect thickness to help hold the floppy fabric together while cutting. This will..ahem..CUT down on time 😉
Step 4

Sandwich your fabric between the two templates and trim around the template.
Using a good pair of high quality scissors will make this process smooth and easy.

Do this for all edge pieces, leaving the four corners alone.
Step 5

Trim the four corners using the ice cream cone shaped template, corner template you made.
Step 6

Pin and sew up the blanket the same you would any rag quilt. For this baby rag quilt I sewed everything at a half inch seam. However if you do larger squares you could do a full inch seam and it would look good too.

For a full Rag Quilt Tutorial CLICK HERE.
Step 7

After all the squares (and scalloped pieces) are sewn together it is time to sew around the edge.
Sew around the edge at a half inch seam, stopping in each seam, keeping the needle down, lifting the sewing foot and turning the blanket to do it all again.
This step is easiest to see in my Scalloped Edges YouTube tutorial.
Step 8
It is time to snip all those edges using a good pair of spring scissors. These are my new favorite scissors that makes this part of the project fly by.

Step 9
Wash and dry your rag quilt and revel in the beauty that is a rag quilt with scalloped edges! So Pretty!!!!
FRONT:

BACK:

If you make this blanket please leave me a note in the comments down below and let me know how this went for you. I love to hear from fellow crafters and anything you would like to share as well!


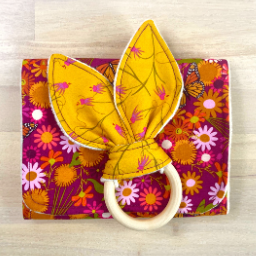
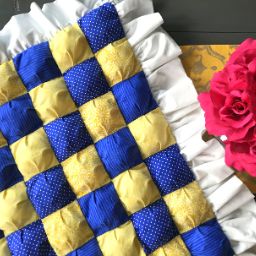
When making this, would it look as good if the scalloped edges were all different patterns?
I don’t see why it wouldn’t, if the rest of the blanket is different fabrics too it would fit right in!
I couldn’t find the scallop template
Hi Dolores, At the top of the page there is this sentence: “For the FREE pdf template CLICK HERE to download.” Click on the pink highlighted words at it will download. Happy Sewing!
Thank you for the scalloped edge pattern. I just finished a quilt for my granddaughter and the scalloped edge looks so good on it. I used 5×5 squares and did 12 rows of 9 and used a flannel square in place of batting.
I LOVE that!!!! I am sure it will be the best gift ever for your granddaughter. Congratulations!