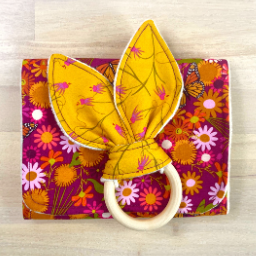
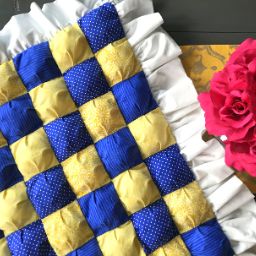
This reading pillow tutorial walks you through all the steps you need to sew a reading pillow with a handle and an envelope style backing!

Sewing a reading pillow is a great beginner friendly sewing project that makes a great gift for kids and adults too!

*This post contains affiliate links, if you shop through them I will make a small commission which allows me to continue to make these free tutorials for you. I appreciate your support.
Reading Pillow Cut List:
- Front Panel: 19″ by 19″ (Cut 1)
- Back Panels: 12″ by 19″ (Cut 2)
- Front Pocket: 18″ by 19″ (Cut 1)
- Handle: 3″ by 10″ (Cut 1)
- Optional: Batting 19″ by 19″ (Cut 1)

You Will Need:
- Cotton Fabric (I used 3 different fabrics that matched).
- Pillow Insert: 18″ by 18″.
- Fusible Fleece or Batting if you choose to Quilt your panels.
- Frixion Pen or Water Soluble Marking Pen if Quilting.
- Walking Foot is helpful if Quilting.
- Measuring Gauge.
- Cutting Mat, Ruler & Rotary Cutter (this is how I cut my fabric but you can use some fabric scissors if you prefer.
- All Purpose sewing thread.
- Sewing Machine.


Optional Steps:
There are a few optional steps you can do to make your reading pillow (otherwise known as a book pillow or journal pillow) a bit more unique.
- Quilting the front large panel will give it a nice finished look.
- Sewing a center seam along the large pocket will allow the pillow to hold chapter books nicely.
- Add a zipper to the bottom of the pillow: Follow the video tutorial HERE.
- Add a zipper behind a flap at the back of the pillow: Follow the video tutorial HERE.
Watch the Reading Pillow Tutorial HERE
To follow along and put your reading pillow together watch the video tutorial HERE.

Let me know in the comments if this reading pillow tutorial is a project you enjoyed making! I keep remaking this one as it has become the perfect gift to sew.
Please pin the below image to share this project with others. I appreciate your help in spreading the word!


